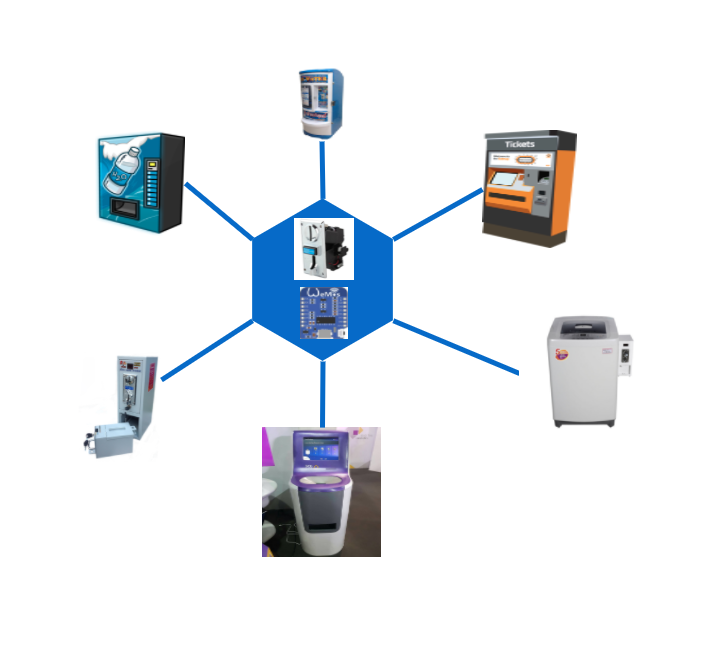
Elevator Pitch
i need share my experience esp82266 with micro-python and 3D-Printer . Start with small problem. “How many coin in your piggy bank” I resolve problem and make a new Question “how to real time update how many coin in your piggy bank”. This project can apply to many project
Description

Introduction
i need share my experience esp82266 with micro-python it easy. every one can do by self . So i am share code in github esp8266 micropython beginner, Relay 3 line and i fixed small bug i found on marlin 3D-Printer firmware and make video help every-one under stand 3D-Printer Technology. and I have youtube channel for share how to, review, teach 3D-Printer, drone, micro controller, Etc
Who am I
My name is montri Sroymukda i am working for kaidee. So why i select this topic to share. because it is easy every-one can do in your home. kids enjoy pushing coins in a machine which then updates in real time to let you know how much you have put in. This project can apply to many many project such as topUp machine , vending machine , Etc.

Topic
- Hardware Overview
- Software Overview
- Software Prerequisites
- Server Setup
- ESP8266 Setup
- 3D-Printer
- Demo
- Next Projects
Notes
Hardware Overview
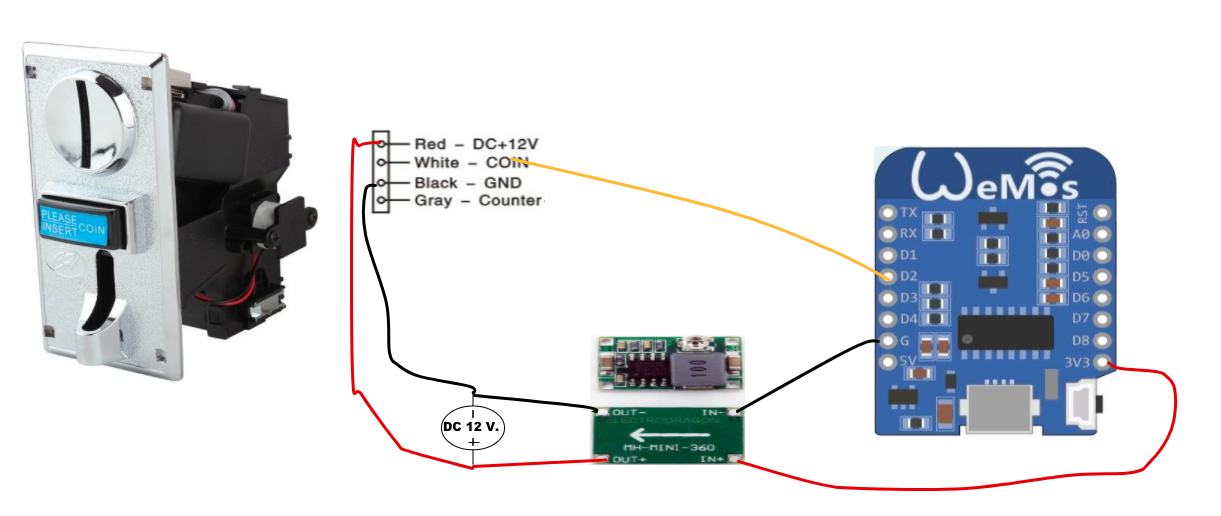
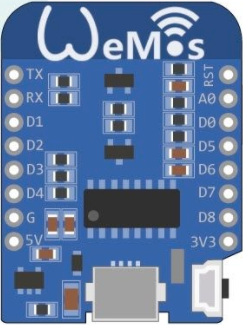
We will build a wireless system that combines the ESP8266 with coin acceptor provided easy connection points. The Coin acceptor and processor send a pulse signal The Wemos for the ESP2866 have a Micro-USB connector attached to a serial port on the processor. We will connect this to a laptop/PC, allowing for firmware updates, file transfer, and interactive communication.
Software Overview
We will first update the firmware to use the latest version of MicroPython. We can receive pulse signal via the Python REPL from the coin acceptor sensor. To use the system remotely, we will send messages over the WiFi radio. This involves setting up the credentials and sending messages via the MQTT protocol (MicroPython provides a library for this). We can set up an MQTT broker on the server to receive these messages.
GitHub Repository
Example code and the source for this documentation are available in a GitHub repository at:[esp8266-coin-acceptor] (https://github.com/montri2025/esp8266-coin-acceptor)
Parts
- ESP8266 (Wemos)
- Coin Acceptor
- Adapter Ac To dc 12v.
- Step-Down DC
- Micro-USB to USB cable
- Wires
Recommended Tools
- Soldering Iron
- Solder
- Wire Cutters
- Digital Multimeter
- 3D-Printer
- Filament (PLA)
- Visual Studio Code (Editor)
- Ultimaker Cura 3.2 (Slicer software for 3D-Printer)
- sketchUp (3D Design)
Connections

Software and Firmware Install
We are now ready to start installing software on our board, over the USB connection. For this, you will need a Mac We have only tested the firmware procedure on Mac. So those systems are recommended. However, others have successfully installed MicroPython from Mac, so it should work. In the instructions that follow, we will use Docker container (MQTT, Grafana(vitalisation) , Python-worker)
Software Prerequisites
You can fllowing esp8266 micropython beginner
Server Setup
- install docker
- Create docker container for Grafana vistualizetion “docker run -d –name graphite -p 3000:3000 -p 8125:8125 raintank/graphite-stack “
- Create docker container for Mqtt “docker run -ti -p 1883:1883 -p 9001:9001 toke/mosquitto”
ESP8266 Setup
-

- MicroPython already has an MQTT client in its standard library
- Git clone from github
- Put files to Esp8266
Demo
- Show pushing coin in a machine
- Realtime Dashboard (Grafrana)
Next Projects
-
Esp32 and bill acceptor (work)